

Follow the below steps to migrate PST file(s) to Office 365 using Regain PST to Office 365 Migration software:
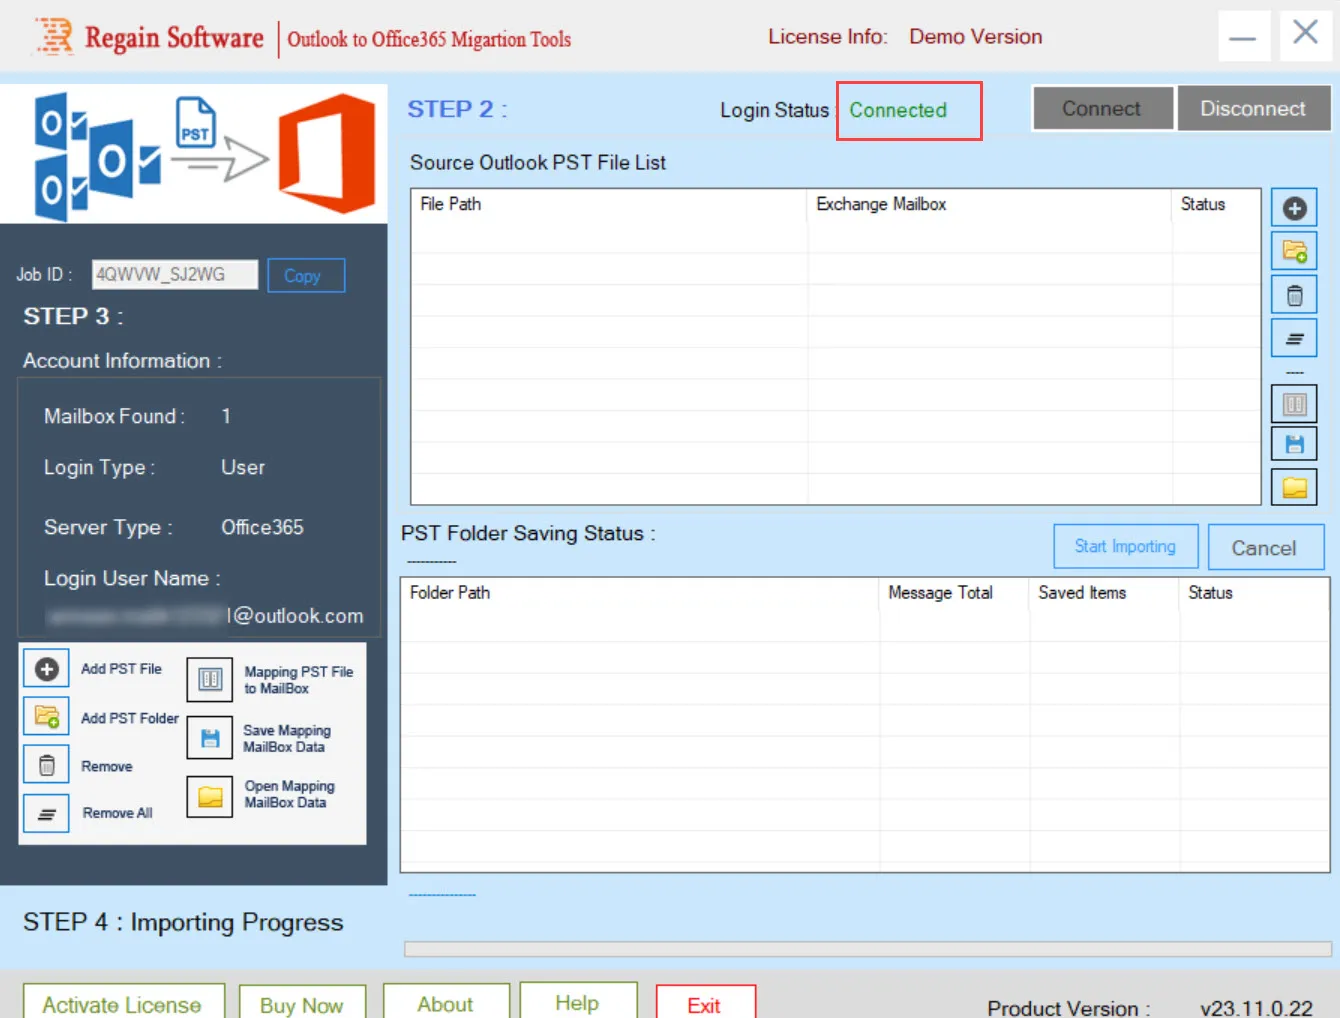
2. Click  to add Outlook PST file or click
  to add PST folder.
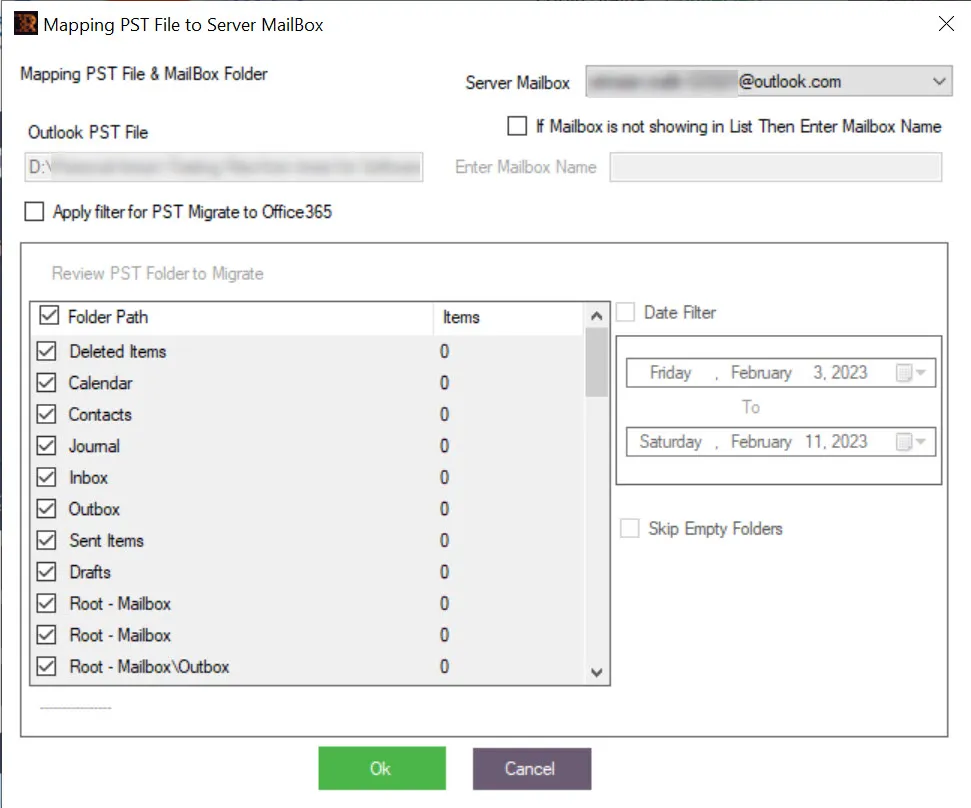
3. The Mapping PST File to Server Mailbox screen appears.
4. Select checkbox “If Mailbox is not showing in List Then Enter Mailbox Name”, to enter Mailbox Name to appear in Office 365 account.
5. Select checkbox “Apply filter for PST Migrate to Office365” for selective migration of folders.
6. Select checkbox “Date Filter” to select the From and To Date for selective migration.
7. Select checkbox “Skip Empty Folders” to skip migrating empty folders to Office 365.
8. Click Ok.
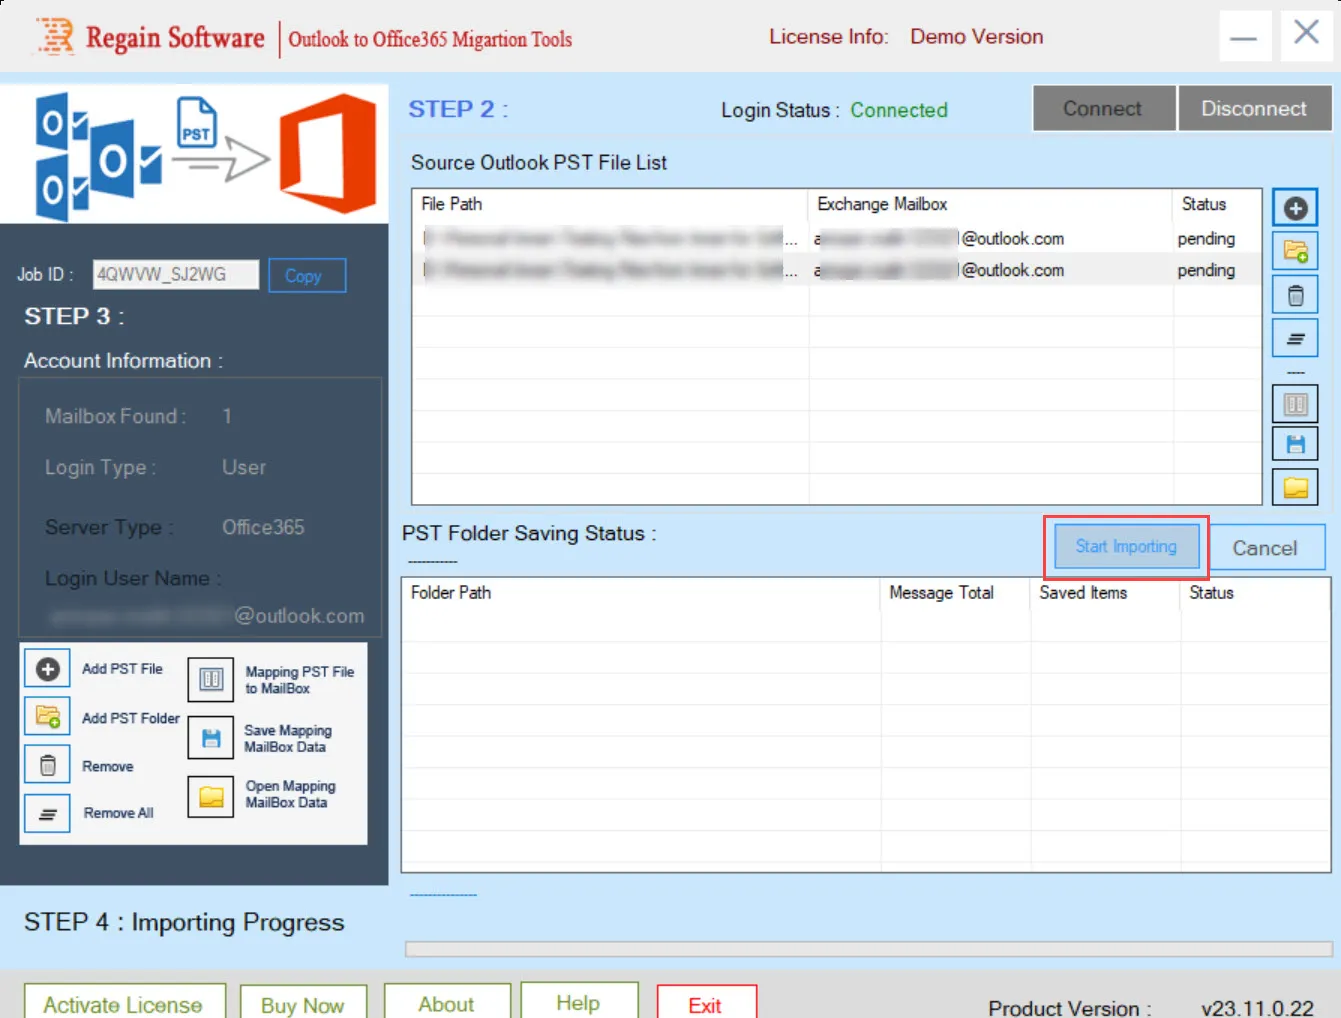
9. Click Start Importing to initiate the migration of selected Outlook PST files to Office 365 account.
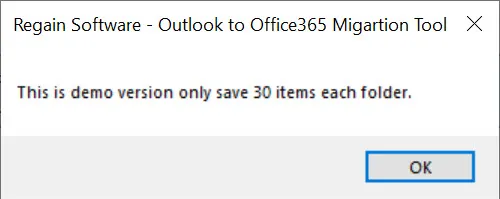
10. If the software is a demo version, a pop-up message appears with demo version restriction. Click OK.
11. The software starts importing selected Outlook PST files to Office 365 and displays progress in the progress bar.
The status for source Outlook PST file will appear as:
| Import Status | Description |
|---|---|
| Pending | Importing Outlook PST file to Office 365 is pending |
| Processing | Importing Outlook PST file to Office 365 is under process |
| Completed | Importing Outlook PST file to Office 365 is completed |
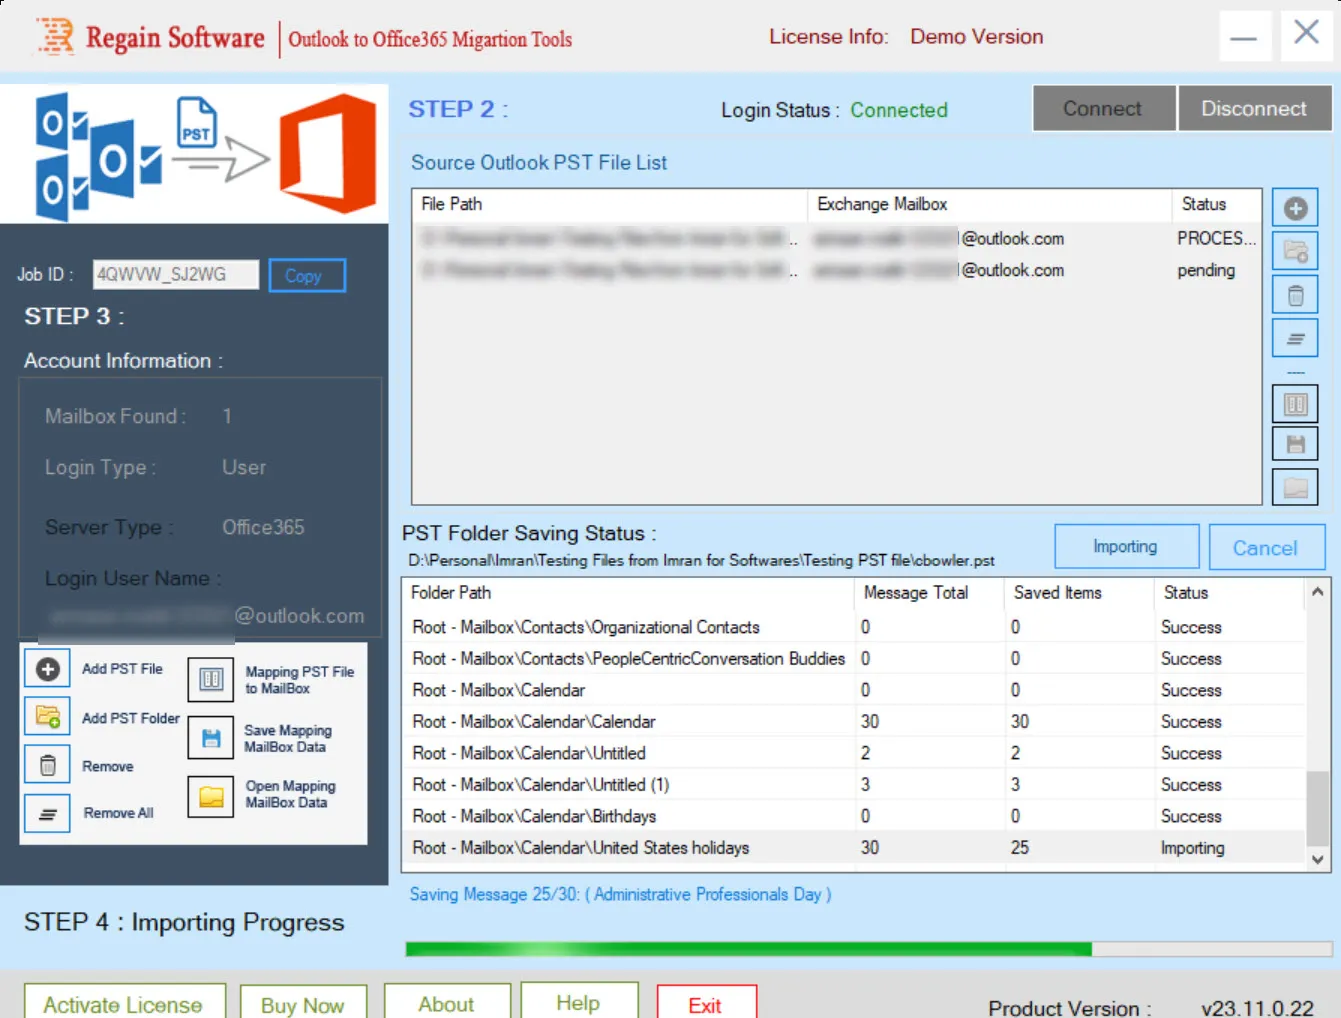
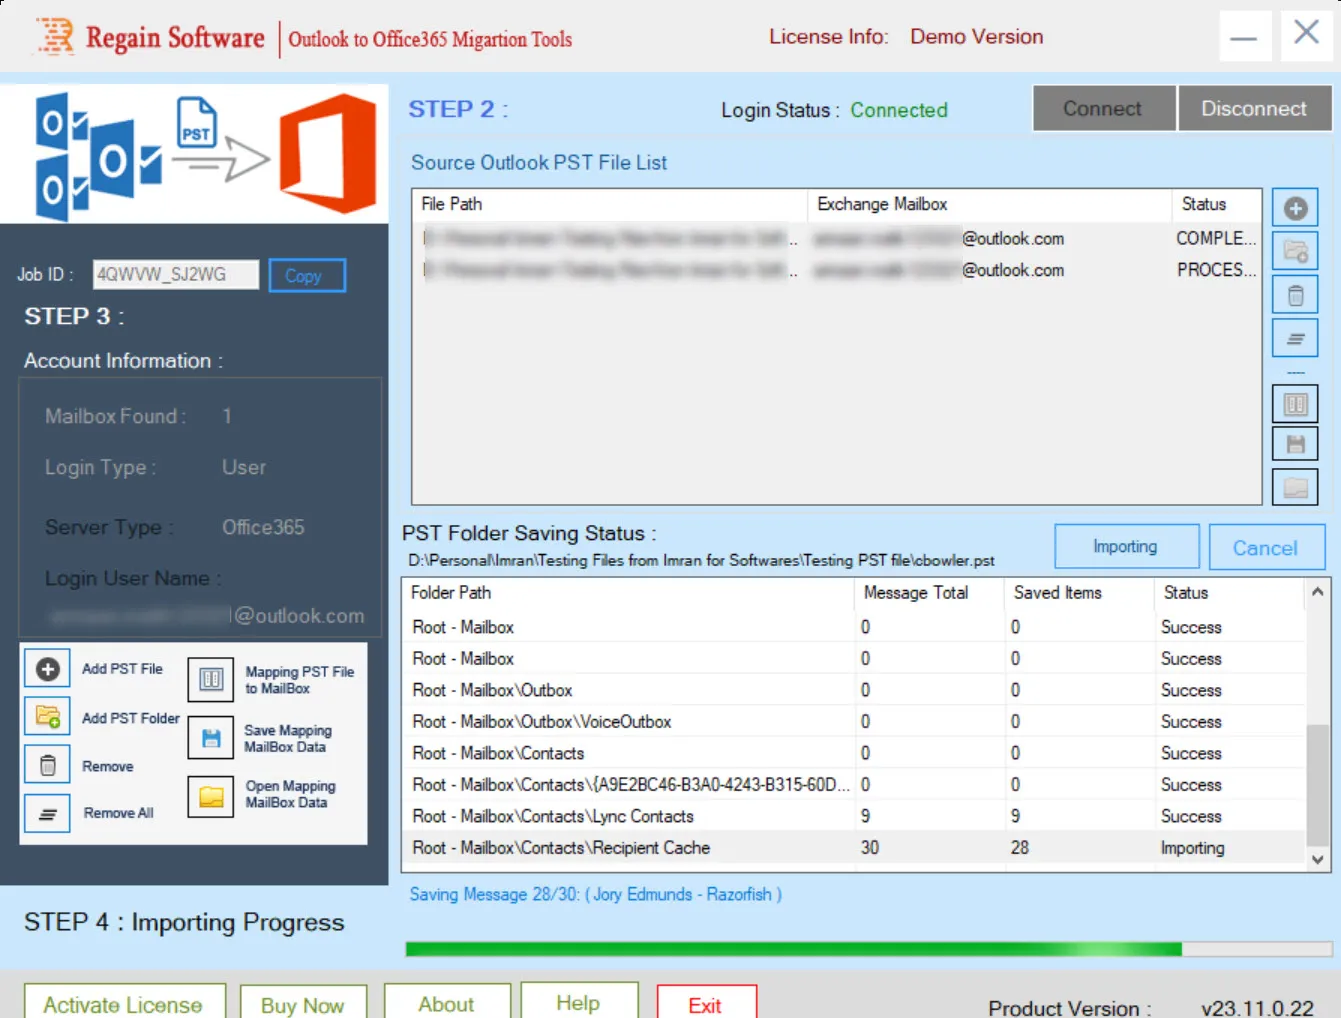
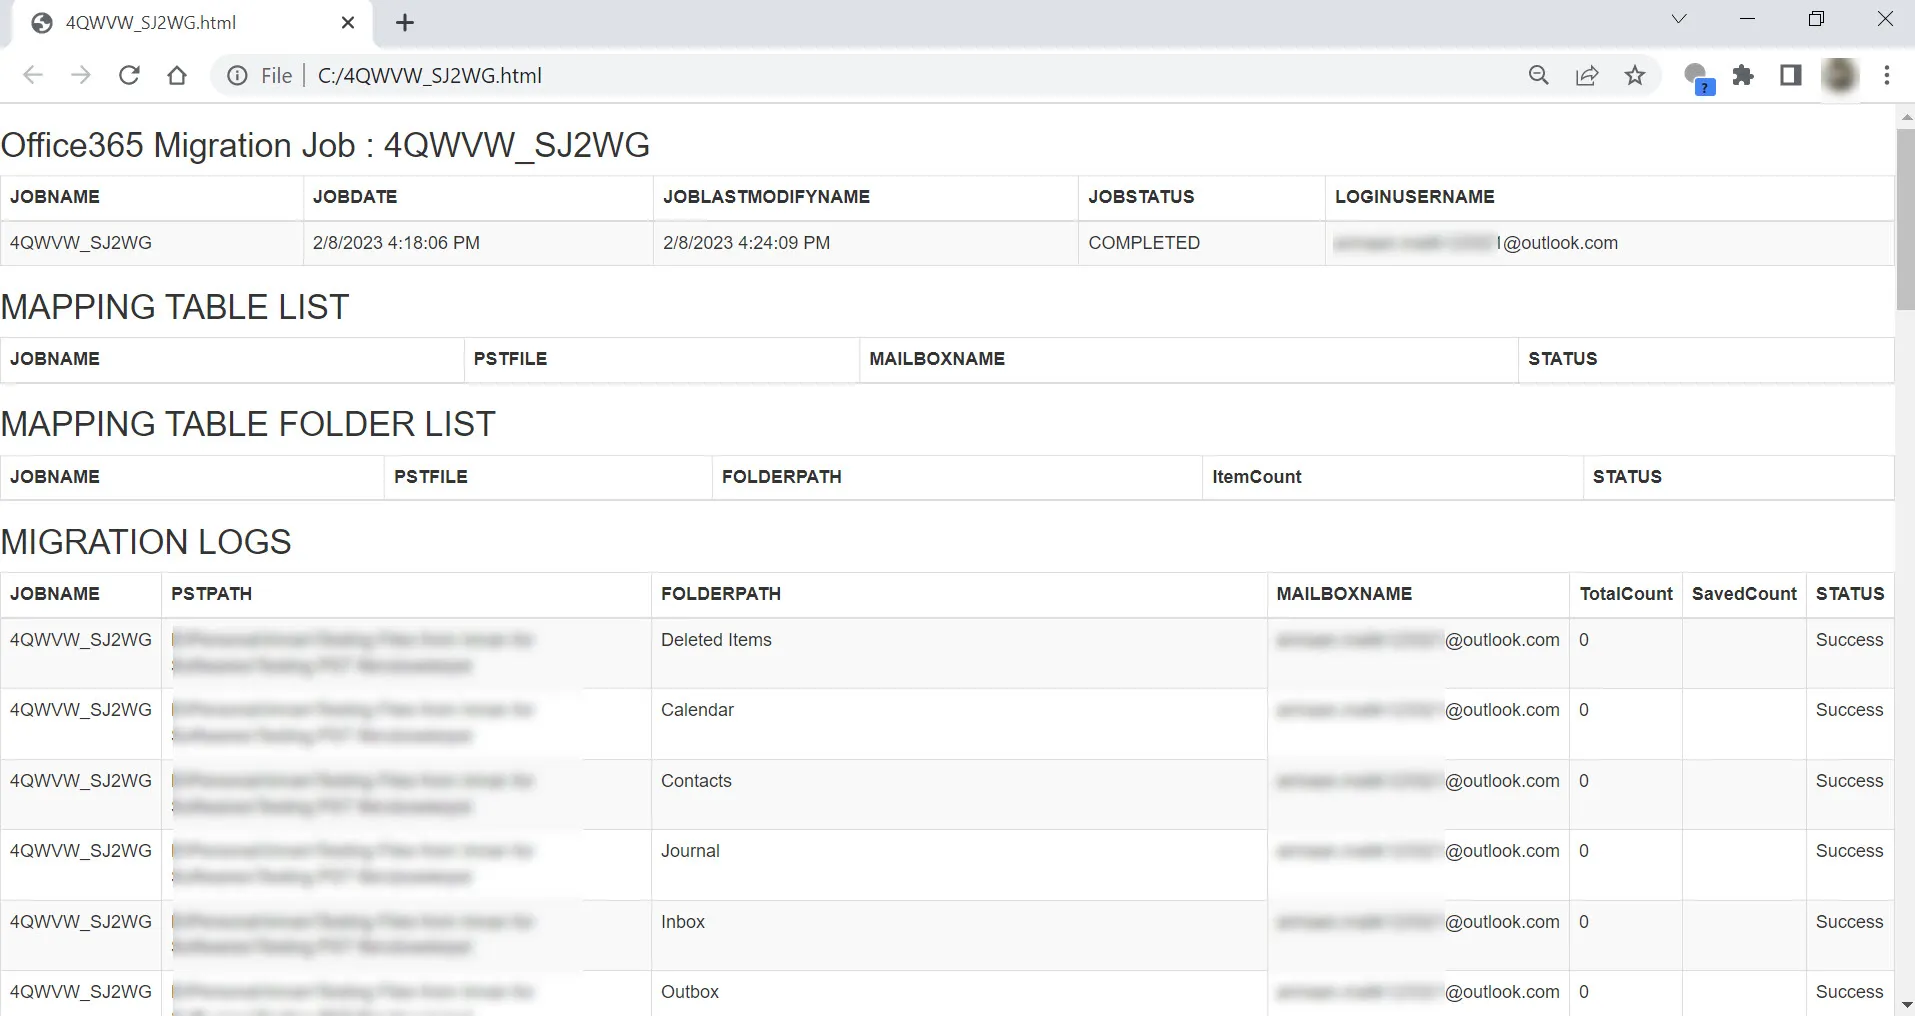
12. On successful migration of Outlook PST files to Office 365 account, a report for Office365 Migration appears with the Job ID.
13. Click  to open mapping mailbox data. The Open Pending Jobs window appears displaying status for all the Jobs alongwith the Job IDs, Job Date, Job Status, and Username.
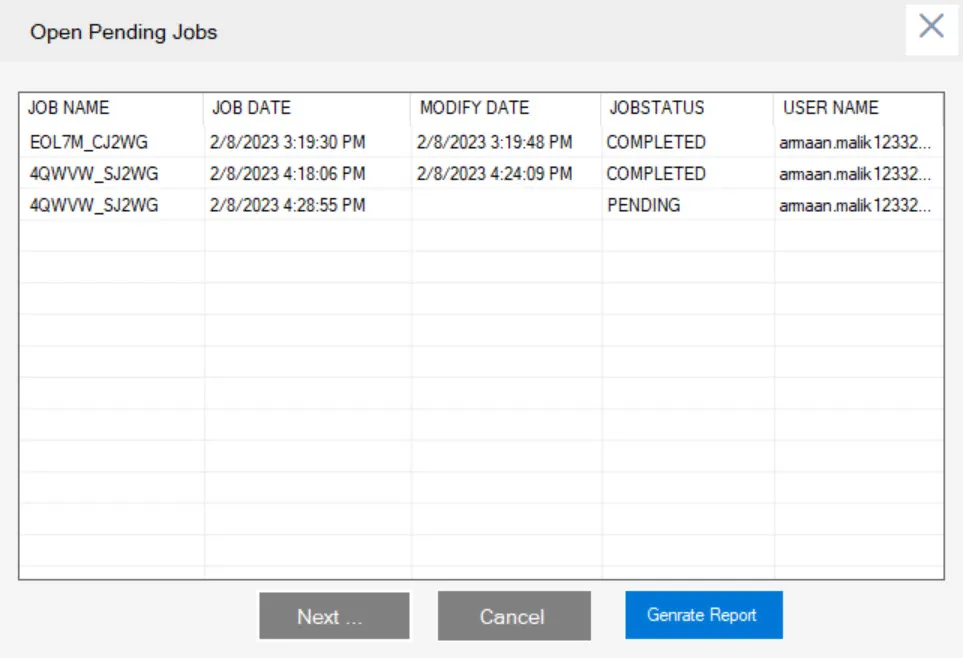
14. Click Generate Report to generate report in html format.